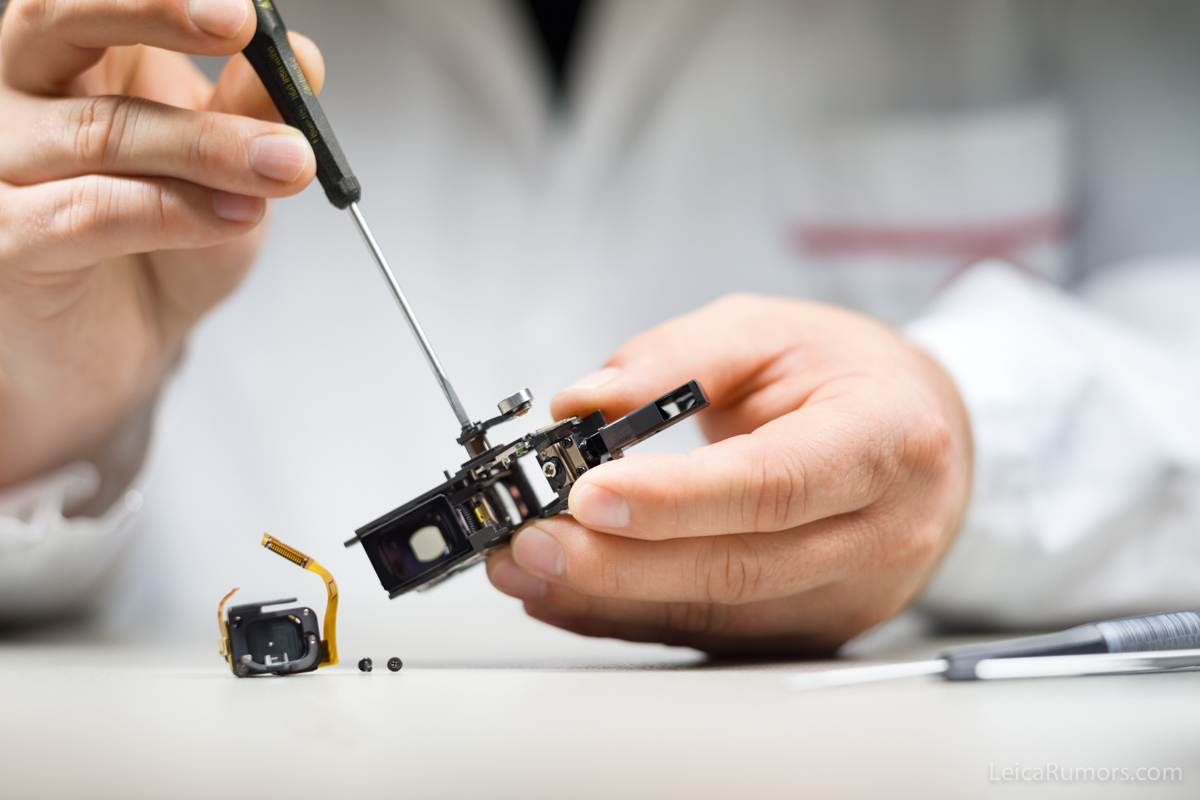
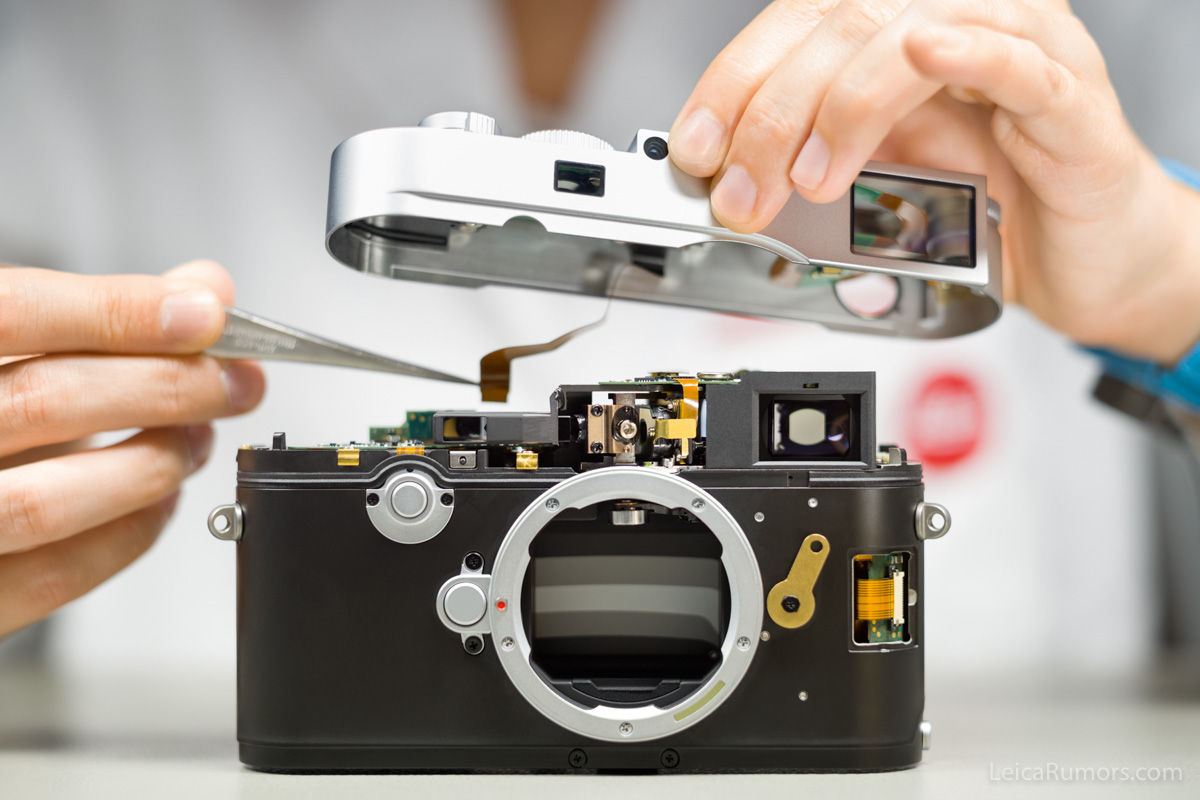
Left: Finder mask with bright-line. Right: Attaching the roller-lever to the rangefinder
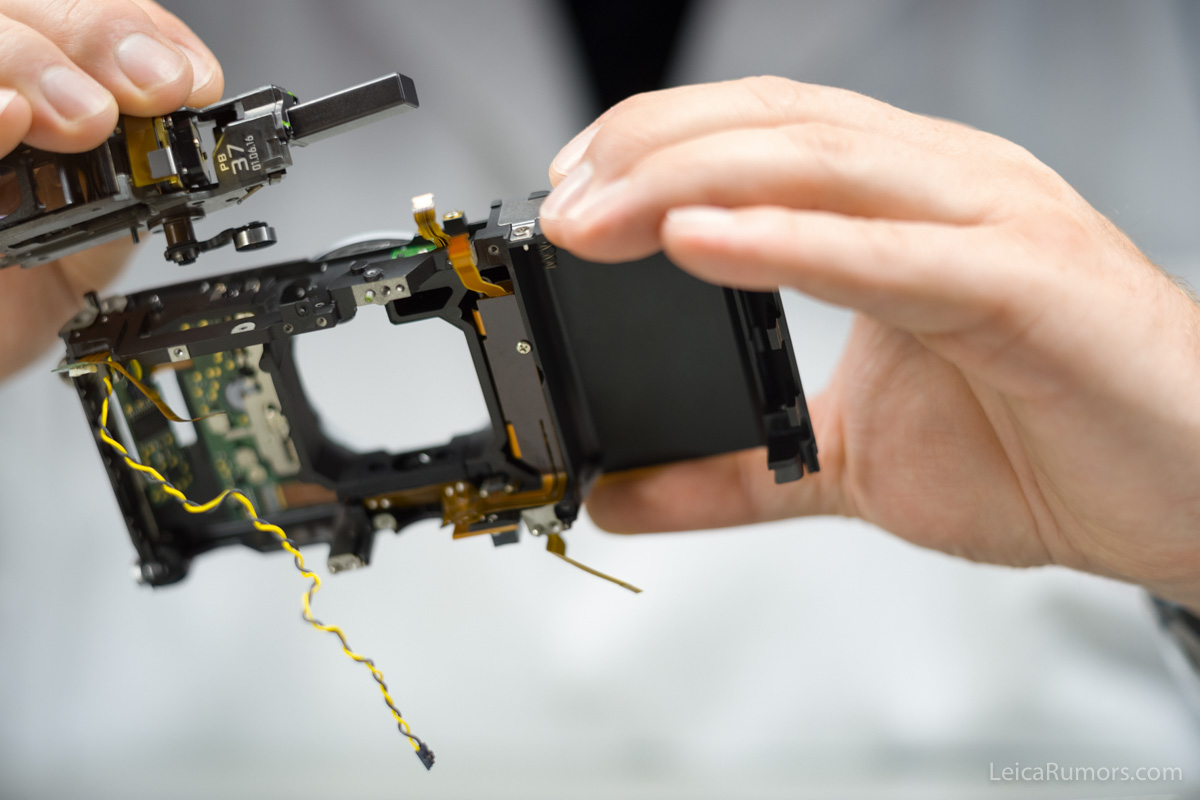
Installing the rangefinder assembly in the main body I
Installing the rangefinder assembly in the main body II
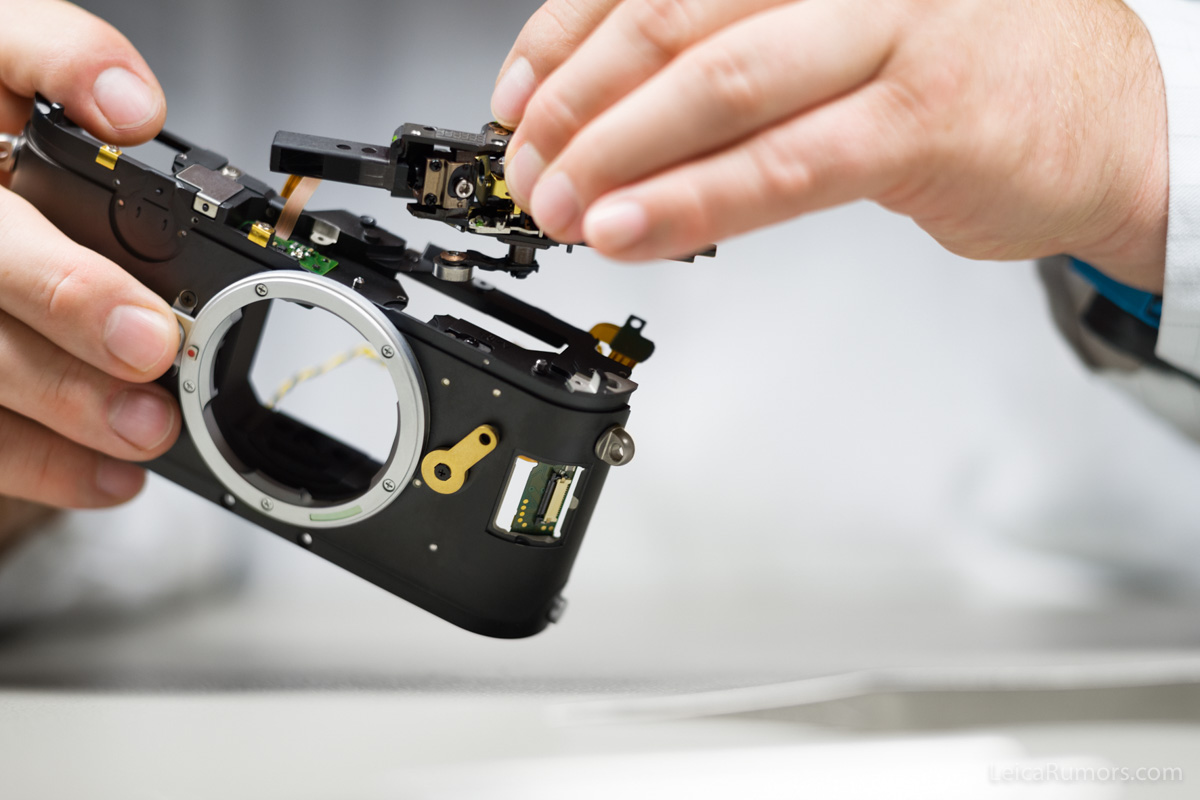
Installing the protection cover of the override button on the main body
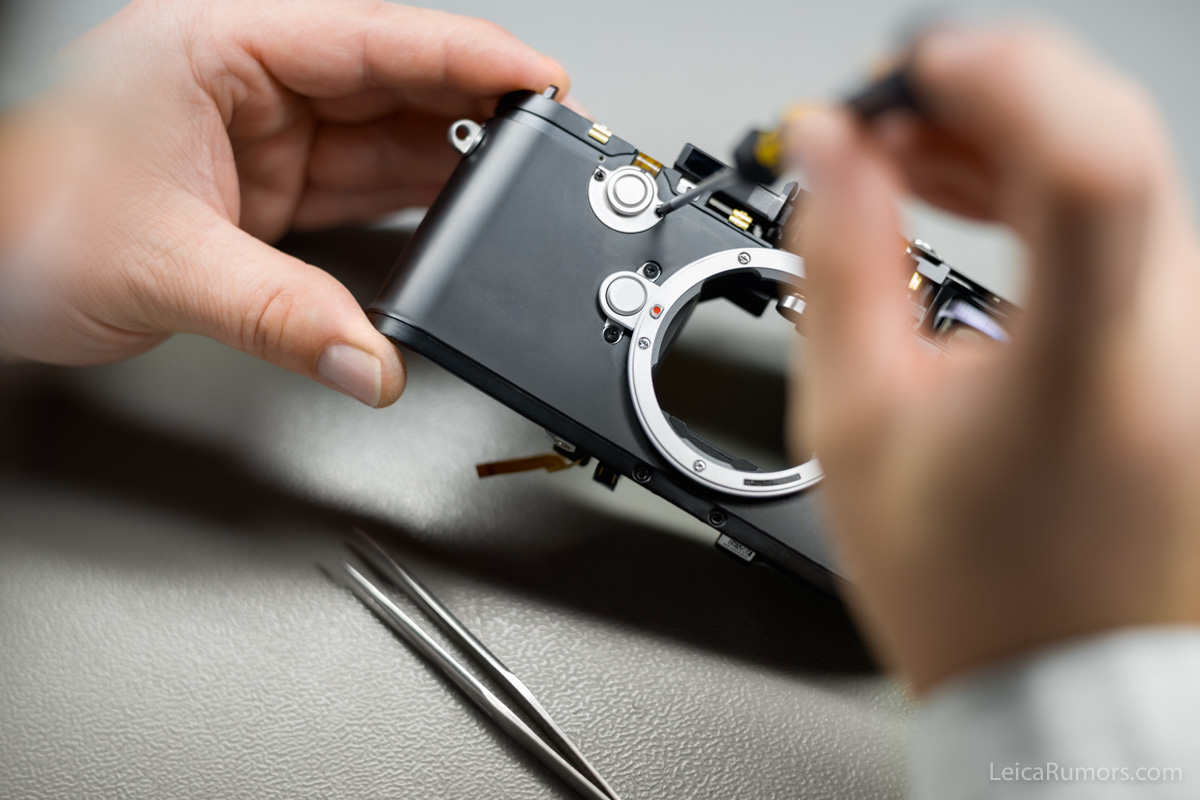
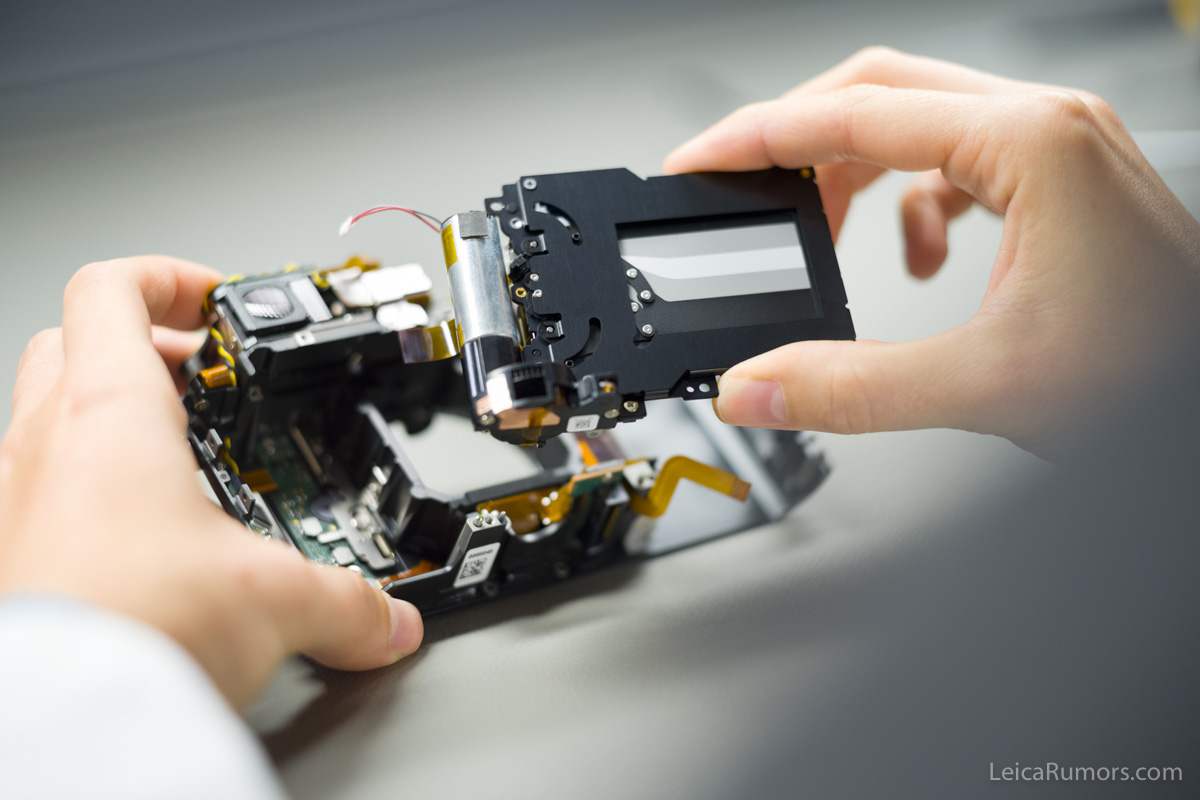
Installing the shutter in the main body
The M10 once again offers an image field selector in order to regulate the bright-frame display in the rangefinder
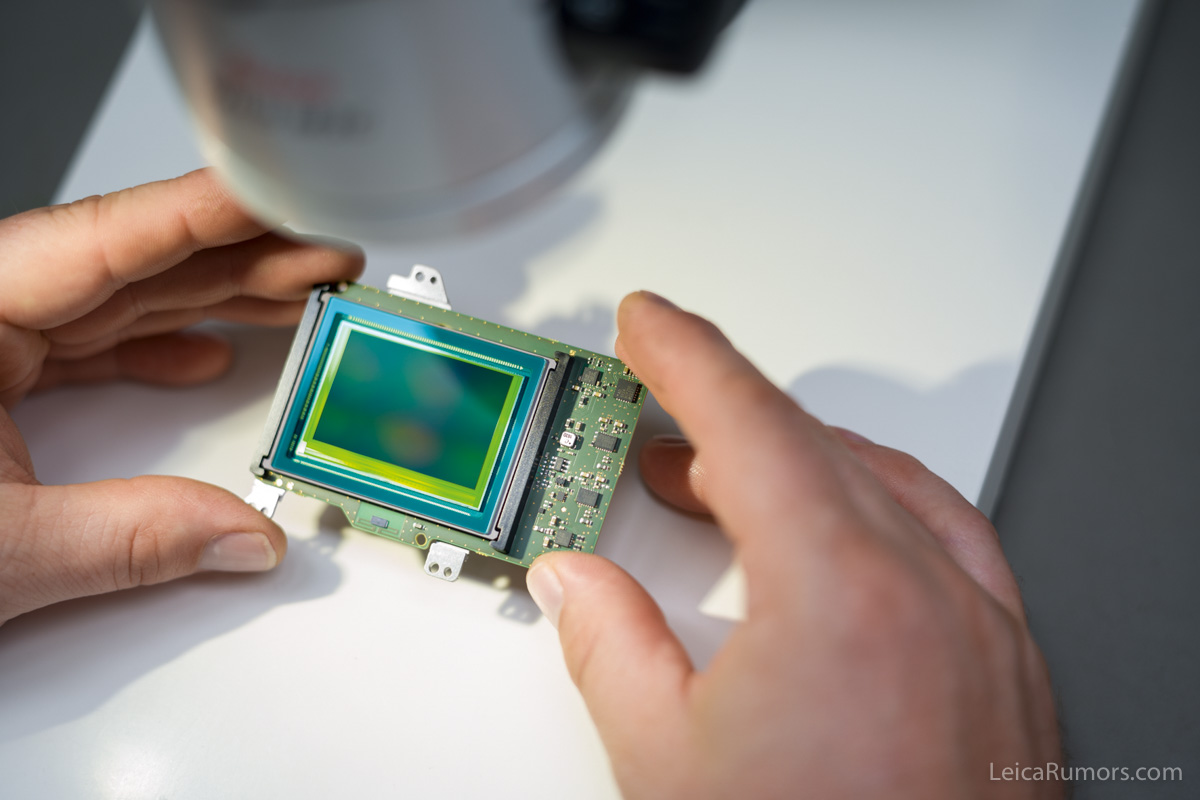
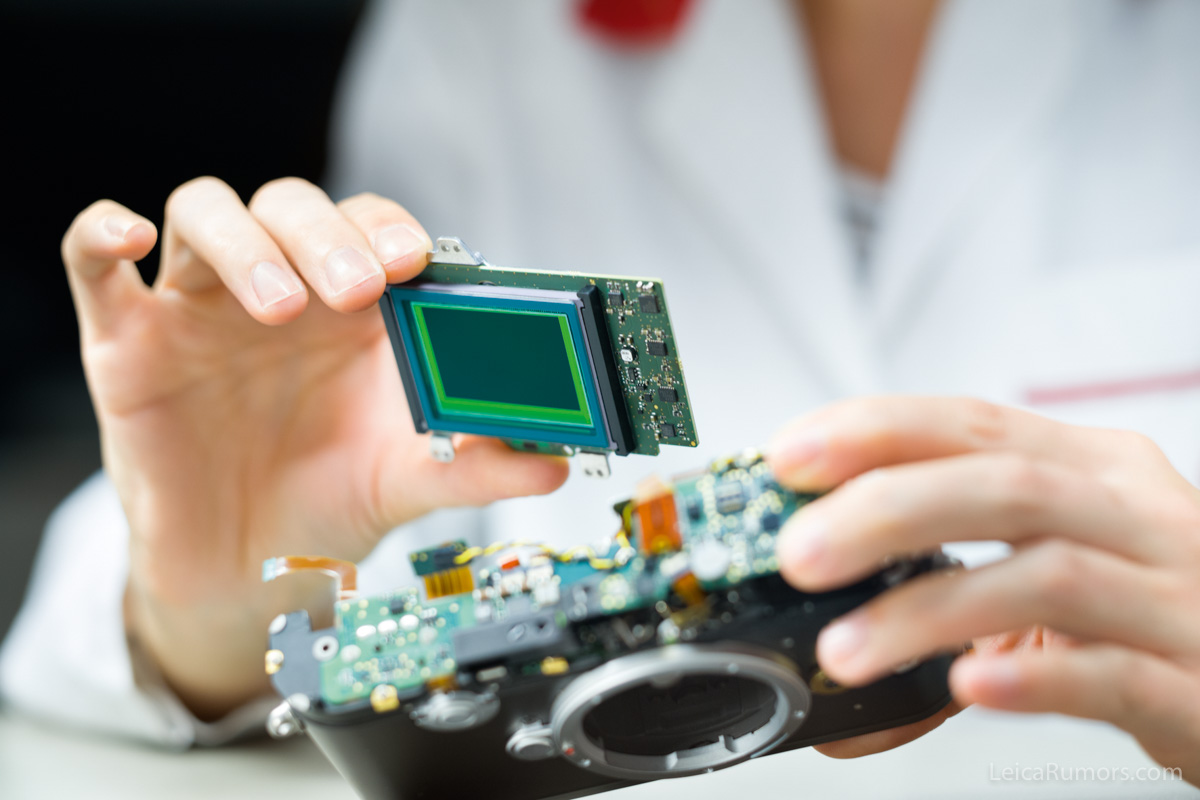
Sensor surface and coating are visually examined for scratches, dust and air pockets
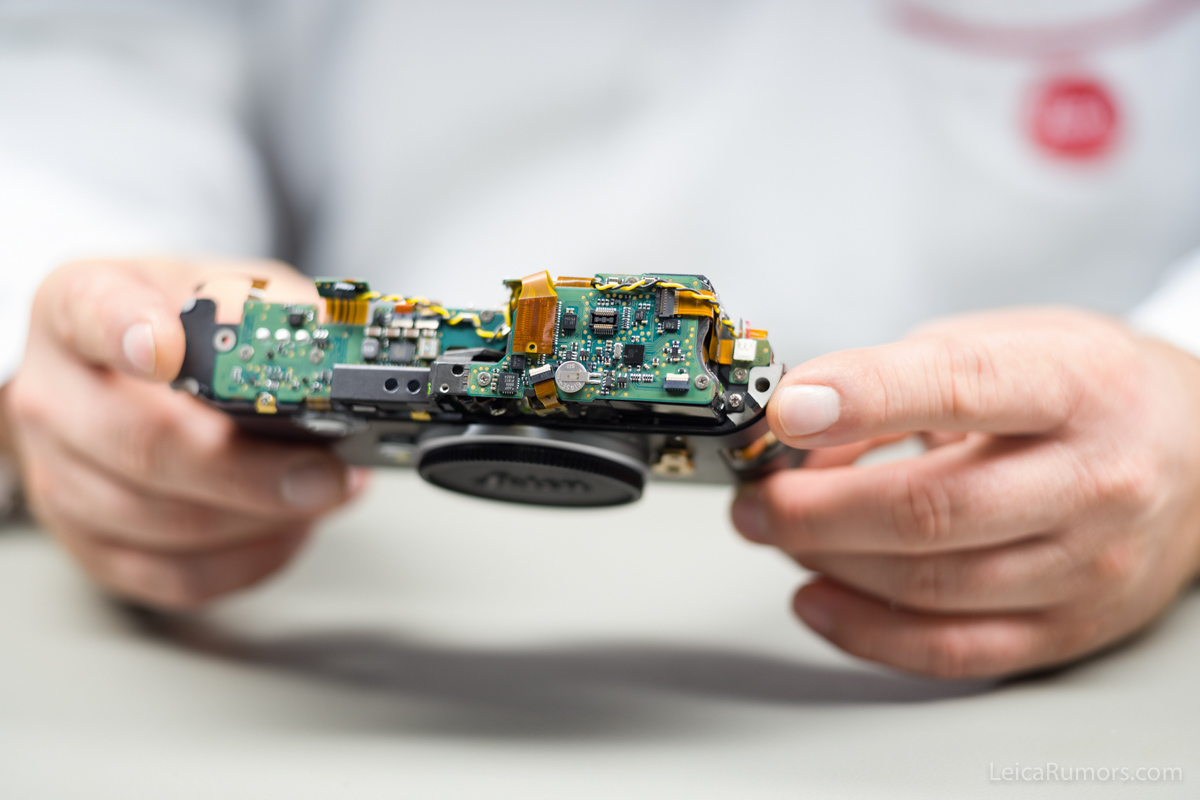
Inspection of the connectors and examination of all screw connections during the assembly of the main body
Installation of the sensor in connection with the image board; the two components have been calibrated to each other
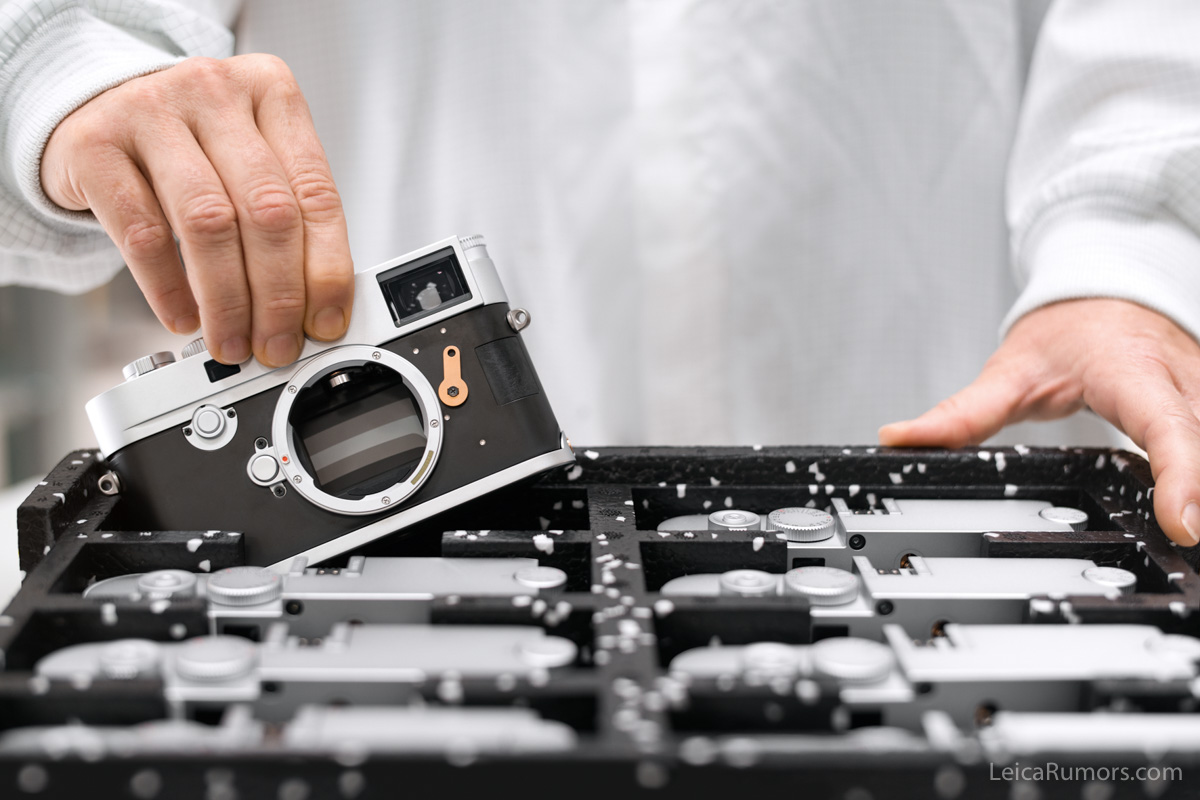
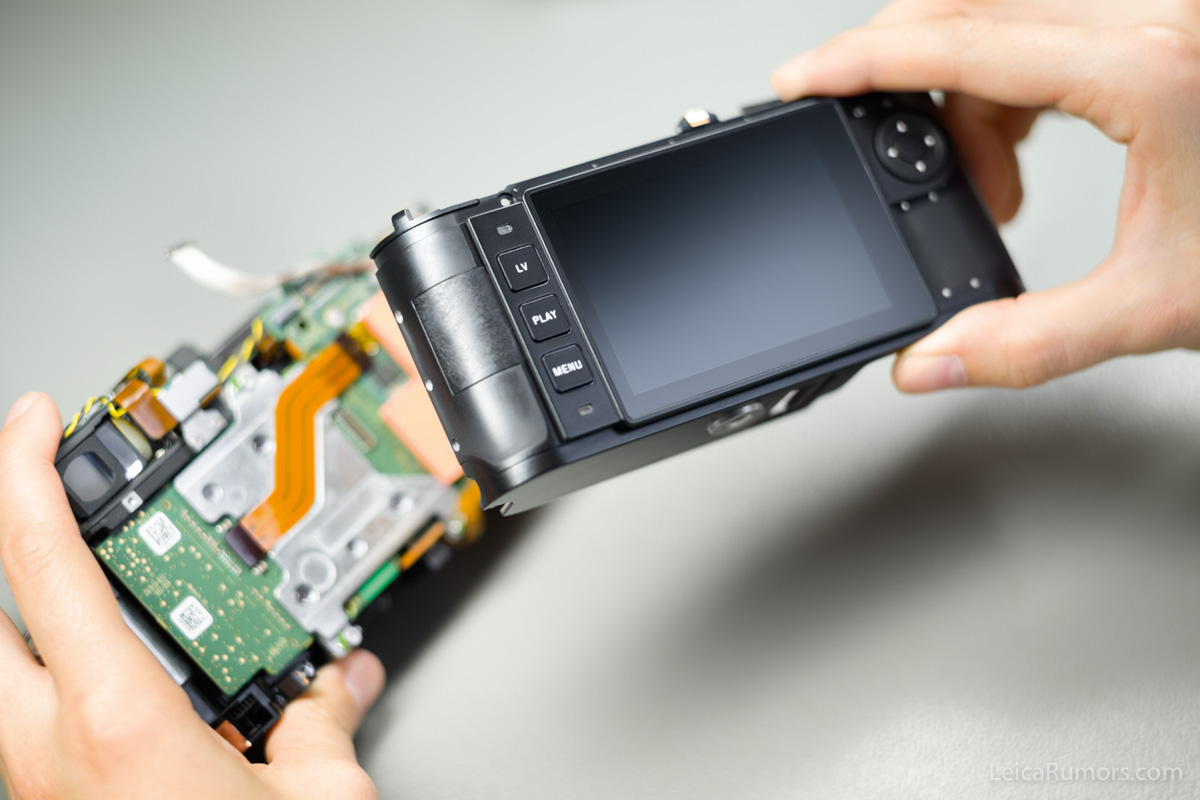
Attaching the back-shell to the previously examined main body
Once the back shell and main body have been joined, only the top plate is missing
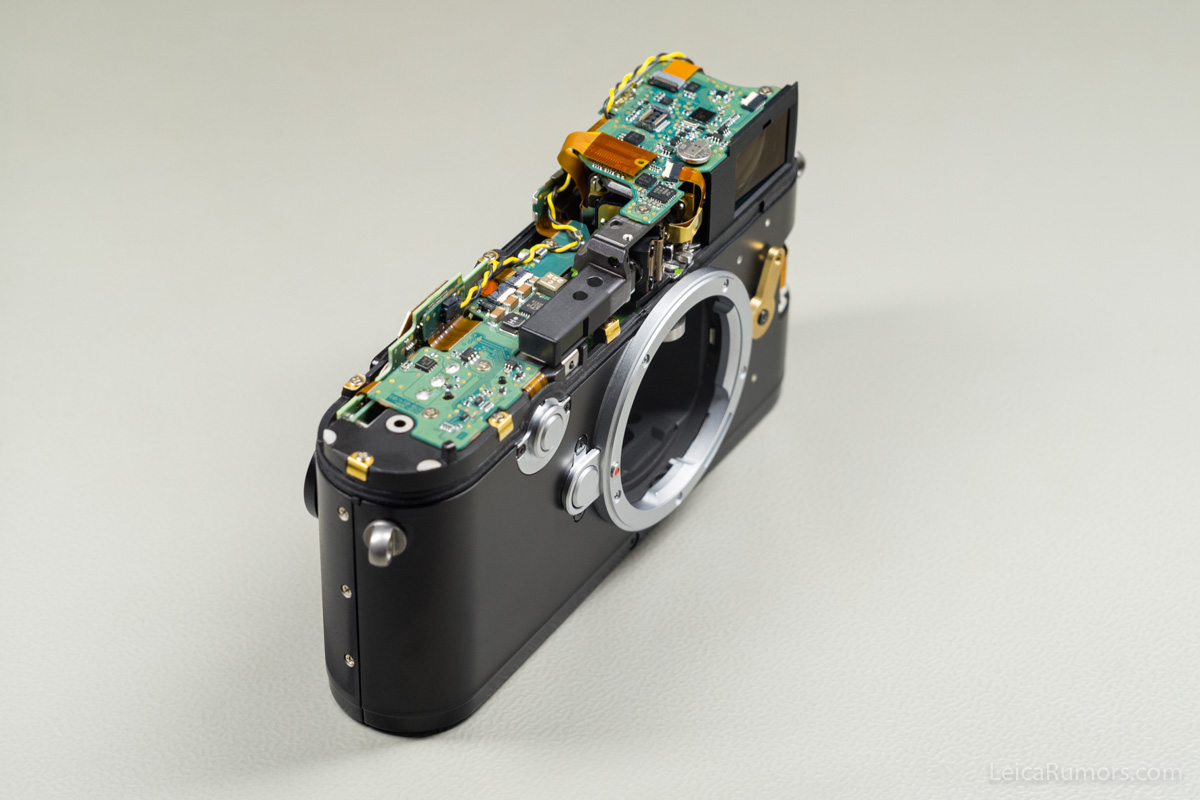
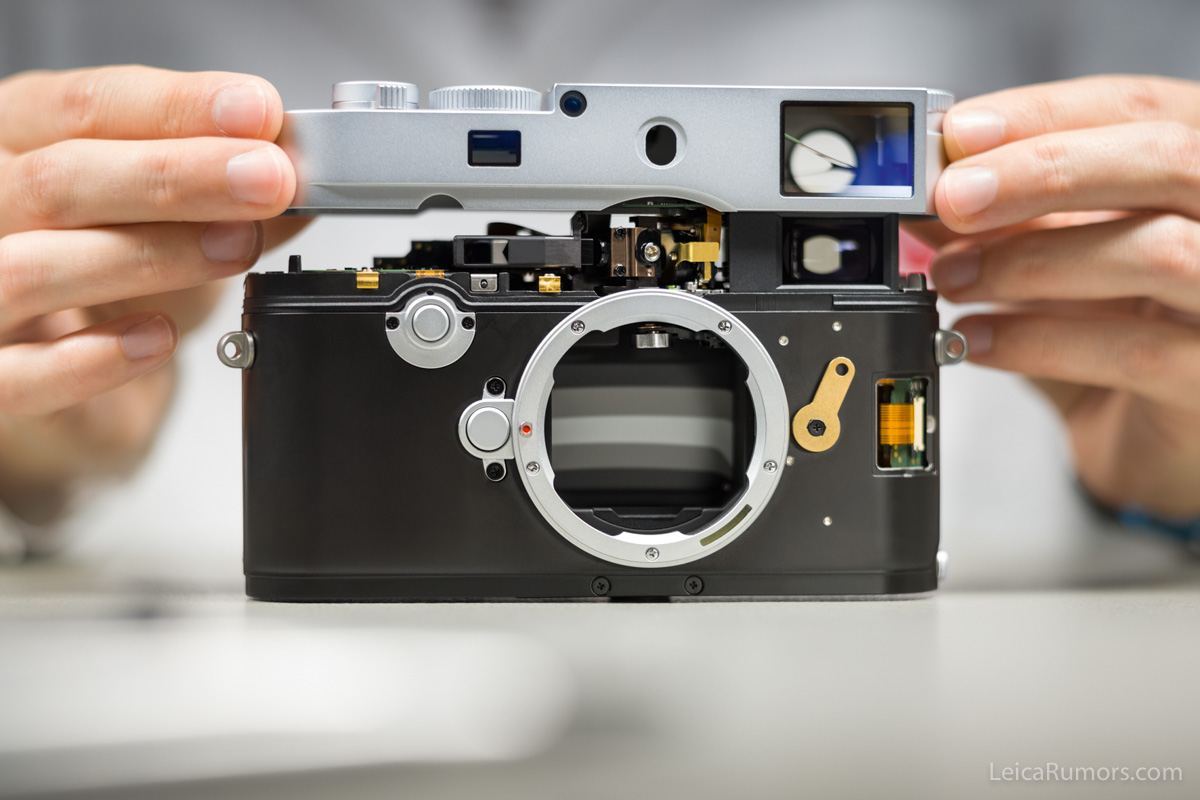
Before installing the top plate, the connectors are closed
Having closed the connectors, the top-plate is attached as the final step
Check Leica M10 pre-orders, pricing and availability:
| US | Worldwide |
| B&H Adorama PopFlash Leica Boutique Palm Beach Leica Store San Francisco Leica Store Miami Tamarkin Classic Connection |
Meister Camera (Germany) Reddotcameras (UK) MKKamera (Hong Kong) Rangefinder (Hong Kong) 9days (Hong Kong) Map Camera (Japan) |
For additional Leica M10 coverage follow the new Leica M10 Facebook group and Leica M10 Facebook page.