Converting Leica images using the new Adobe Camera Raw monochrome profiles by Michael Letchford (website | flickr):
Converting Leica images using the new Adobe Camera Raw monochrome profiles
Up until very recently my favourite way to make a monochrome image conversion was to use Adobe Camera Raw to process the colour RAW file, then transfer it to Photoshop and use the DxO FilmPack Elite V5 plug-in profiles as my starting point.
My favourite profiles from the DxO set are the Agfa Scala 200x and the Ilford FP4 Plus 125 profiles, the former being a lower key, darker conversion but providing a broad range of tonality, particularly good on skin tones, and the latter being more even and a brighter rendition overall. I use these and DxO’s Kodak Tri-X 400 profile most often, depending on the tonality of the initial RAW conversion. These profiles hark back to my old film days and the film ‘equivalents’ were my favourite film choices at the time.
You can also adjust the tonality of the DxO conversion in the FilmPack application itself, which I do, and then export the result to Photoshop for final editing.
Just recently though, Adobe has made an update for Camera Raw and Lightroom available that provides an alternative – a very wide range of colour and monochrome conversion profiles (and the freedom to use LUTs provided by third parties) that give you the opportunity to make your conversions without the need for additional plugins.
In particular, for those like me that prefer to work in monochrome, there are 17 new choices of black and white profiles to try out. My first impressions were that they are very useful as starting points, offering a broad range of conversions from fairly flat tonal gradations through to very contrasty results and that they may well be varied enough to give great conversions for all types of image situations – low key, high key, low contrast, high contrast etc.
Testing the Leica 180mm f2.8 APO Telyt R Lens on a Leica SL
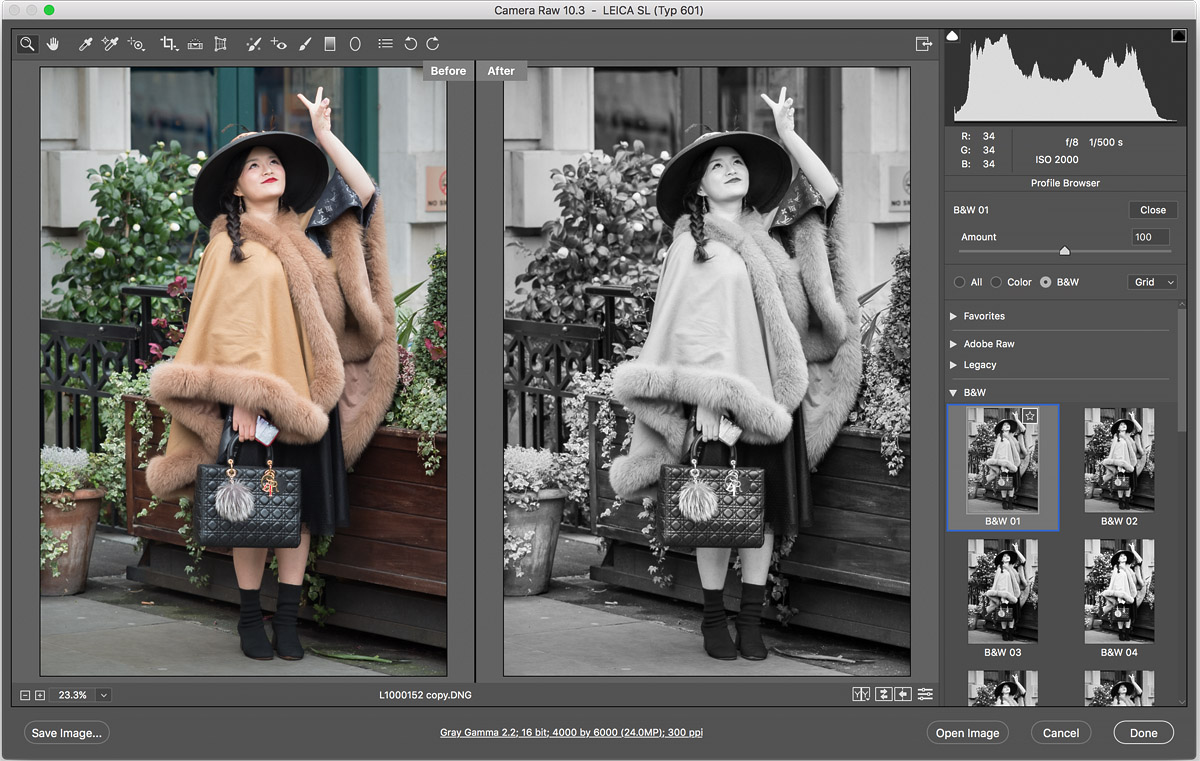
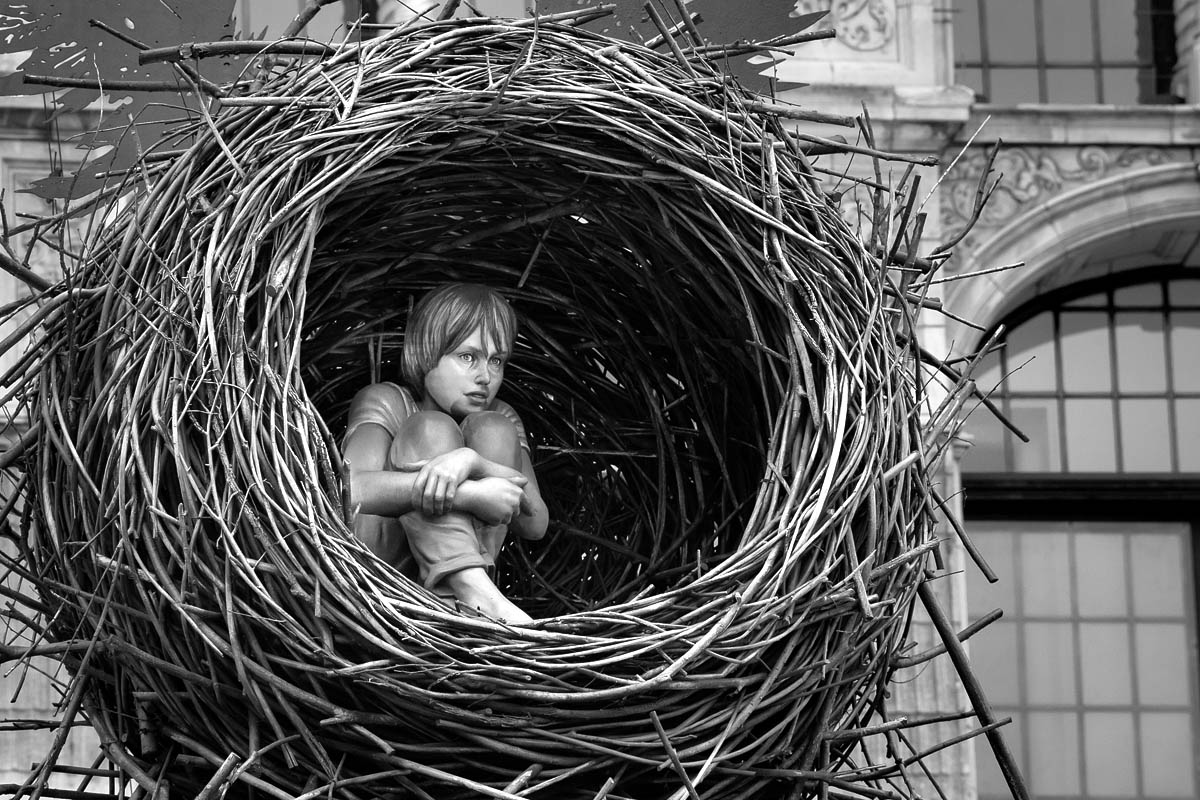
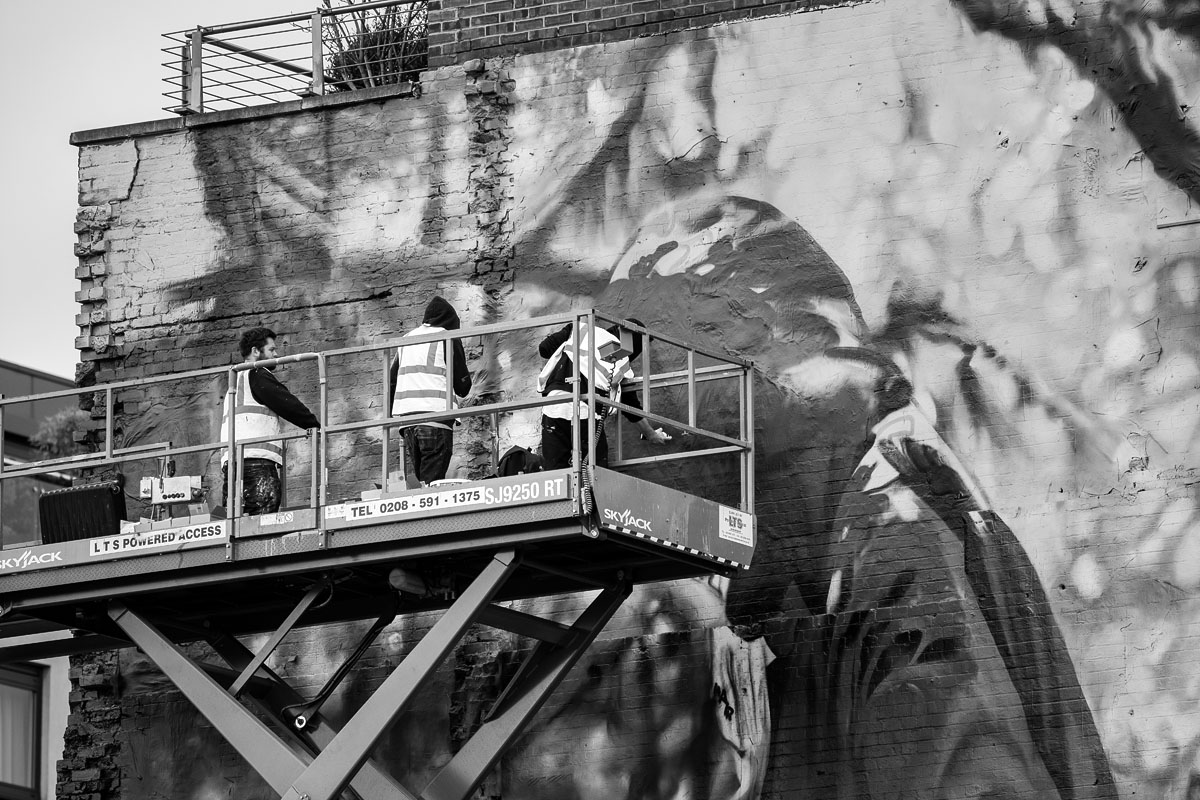
I decided to test the various profiles on a specific Street Photography project I am working on, which explores the use of well loved Leica R lenses, from the 80s and 90s, in combination with a Leica SL body and various adapters. I’ve used some of the images from that project to experiment with the new ACR profiles. All the images were shot in London’s streets; this first one in Covent Garden:
When you select one of the new profiles, you can preview its effect in Camera Raw as shown above, and of course, these profiles also work in Lightroom.. The 17 new black and white profiles offer a wide range of tonal gradation, from fairly even toned all the way to quite contrasty conversions. You have to scroll through and hover over the alternatives until you find one that suits the image you’re working with. I selected B&W 01 for the image above – it was the ‘best’ starting point for the effect I was looking to create.
A key point here is that you get to this starting point without adjusting any of the standard sliders in Camera Raw. This means that you still have all the other adjustments available to you even after your choice of profile is applied – so you can then apply all the other, standard, sliders and adjustments until you reach a point where the image looks the way you want. This includes using the standard colour sliders on the black and white conversion tab in Camera Raw as well as opting, as necessary, for graduated filters and adjustment brush ‘layers’ to refine the image.
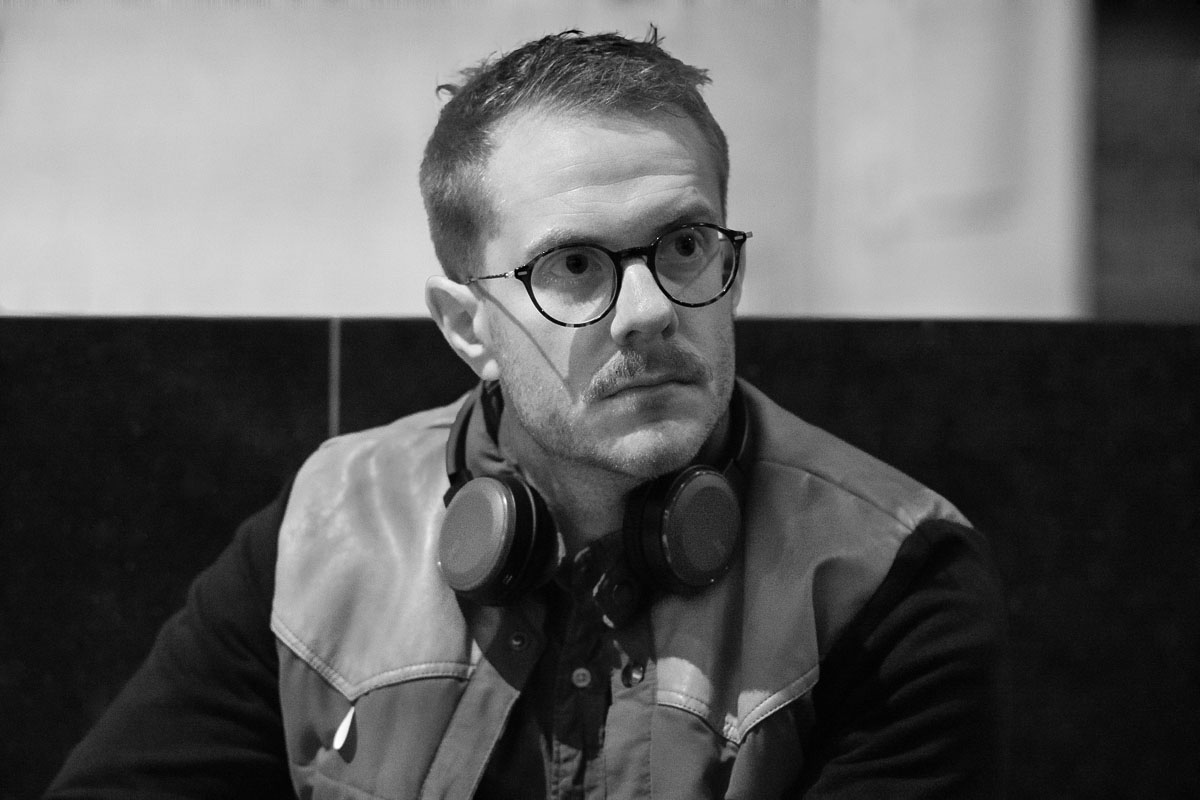
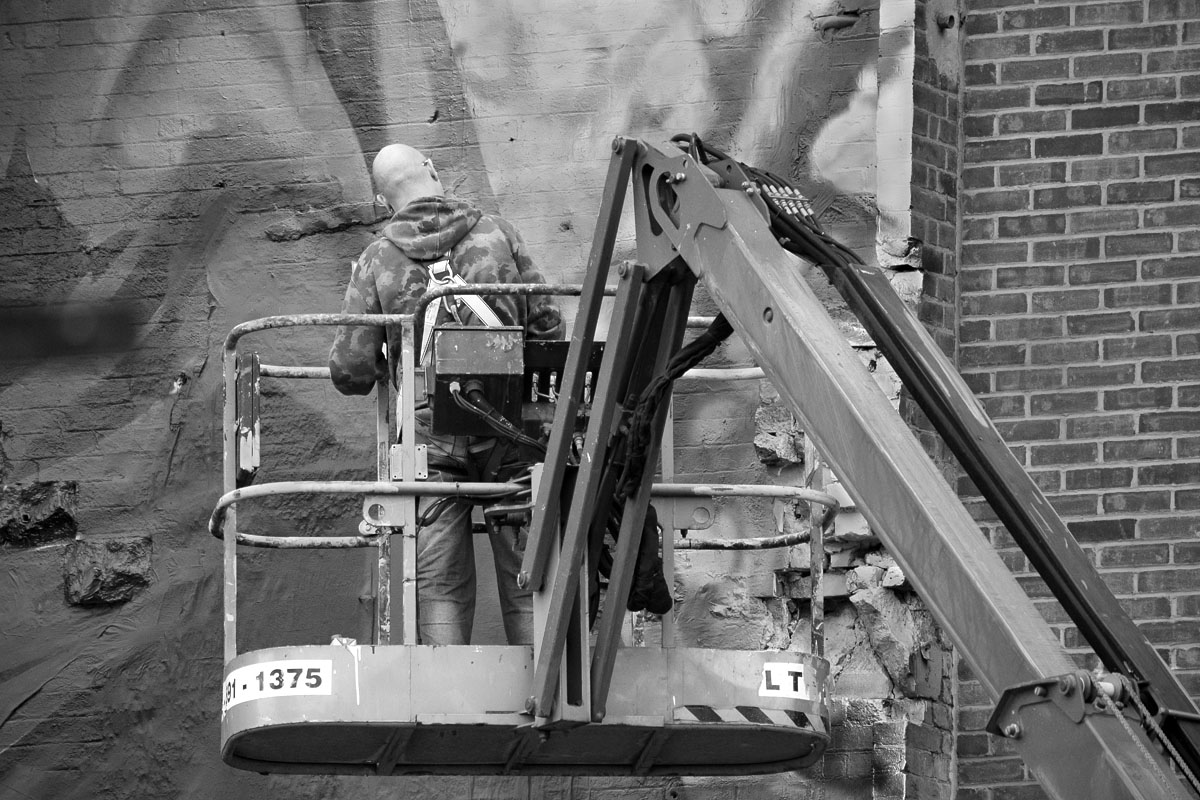
The image above was taken with the Leica 180mm f2.8 Telyt R lens attached to the Leica SL using the Leica R-M and the M-L adaptors, as I didn’t have and R-L adaptor available. You can see the quality of the image in this 10% crop from that same frame:-
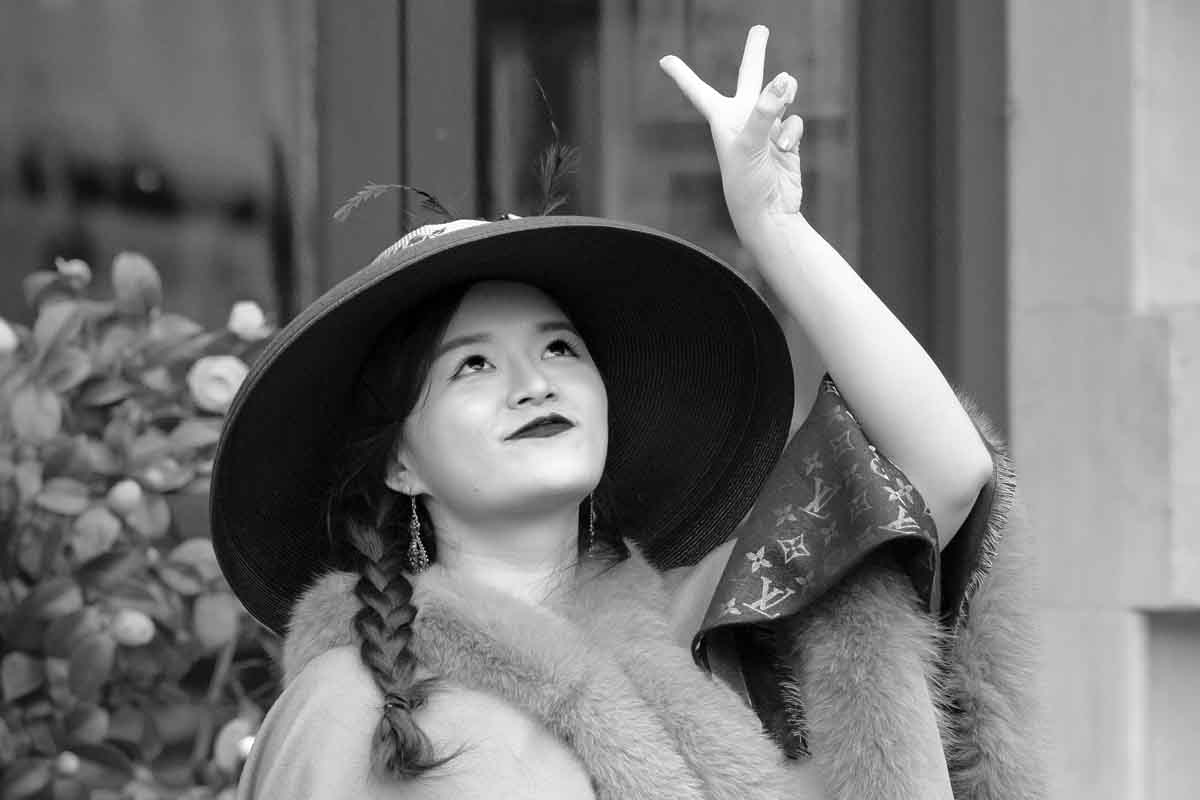
This crop was processed using the ACR Black and White Profile B&W01 at 100% Amount. I made additional adjustments to how the colours were translated using the colour conversion sliders in the ACR Back and White Mix Tab. Next, I applied three graduated filters to slightly darken the corners and right hand side. I made minor adjustments using the ACR Adjustment Brush, mainly to darken the eyes, eyebrows and mouth lines and, finally, increased the overall highlights by +20 on the ACR Basic Tab. I transferred the image into Photoshop, adding a mild contrast curve, level adjustment, resizing and just a touch of sharpening, given it’s such a large crop – only 10% of the original file! I think it stood up rather well.
To be able to do all this processing in ACR (or Lightroom) alone is, I think, a major step forward in workflow efficiency for monochrome (or colour) workers, in that you now have a broader choice of starting points in your initial rendering and yet still retain all your favourite adjustments to fine tune the resultant image. Of course, for those that want to produce high quality black and white images without too much effort, just adopting your selected profile will get you there in one step!
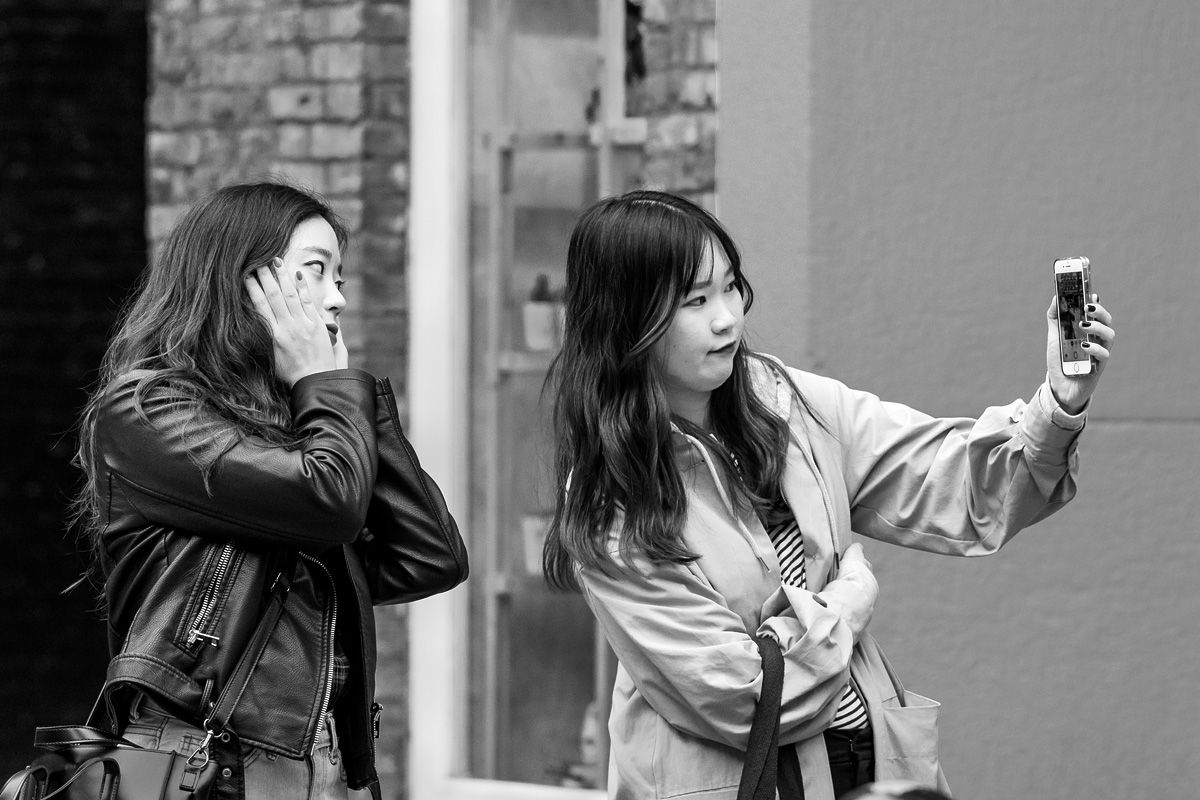
More Leica Leica R 180mm f2.8 Telyt Lens Examples
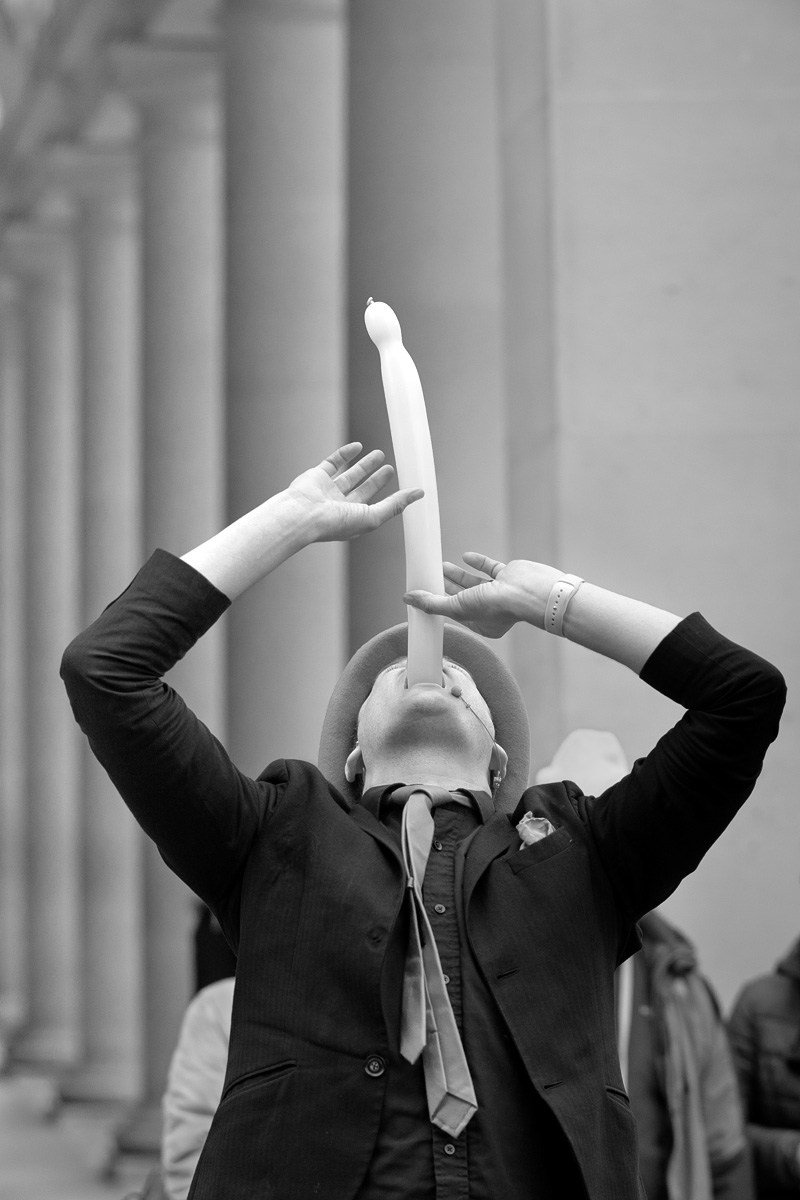
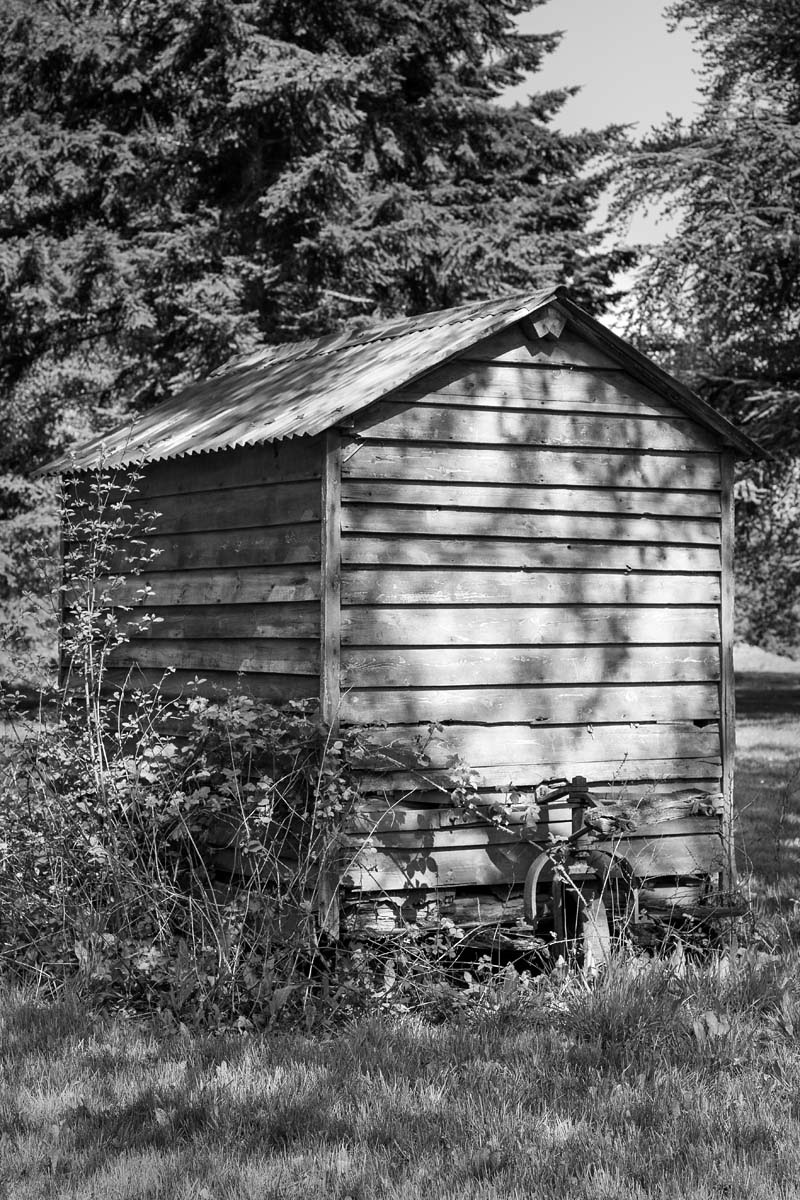
Here is a set of images made with the Leica SL and a few Leica R lenses from the mid 90s to showcase how earlier generations of Leica lenses can still produce some very decent Street Photography work. Every image in this set was processed using the same workflow as that described above, but with different settings, depending upon the nature of the individual image.

Some Leica Leica 280mm f4 APO Telyt R Lens Examples
Both of the above images were shot with the Leica180mm f4 Telyt APO R lens, hand held.
A Leica 280mm f4 APO Telyt R Lens & 2x APO Extender Image
The image above was shot with the Leica SL camera and the Leica 280,, f4.0 Telyt R lens fitted with the R-L adaptor and the 2x APO Extender – an equivalent FL of 560mm. It was hand held at 1/500s at f8, ISO 2500.
Some Leica 60mm f2.8 Macro Elmarit R Lens Examples
While on quite a different walkabout at the famous Luton Hoo Estate in Bedfordshire I chanced upon some superb opportunities to try out a recently acquired Leica 60mm macro R lens. These images were process in exactly the same way using either the B&W01 or B&W10 profiles followed by my usual adjustments.
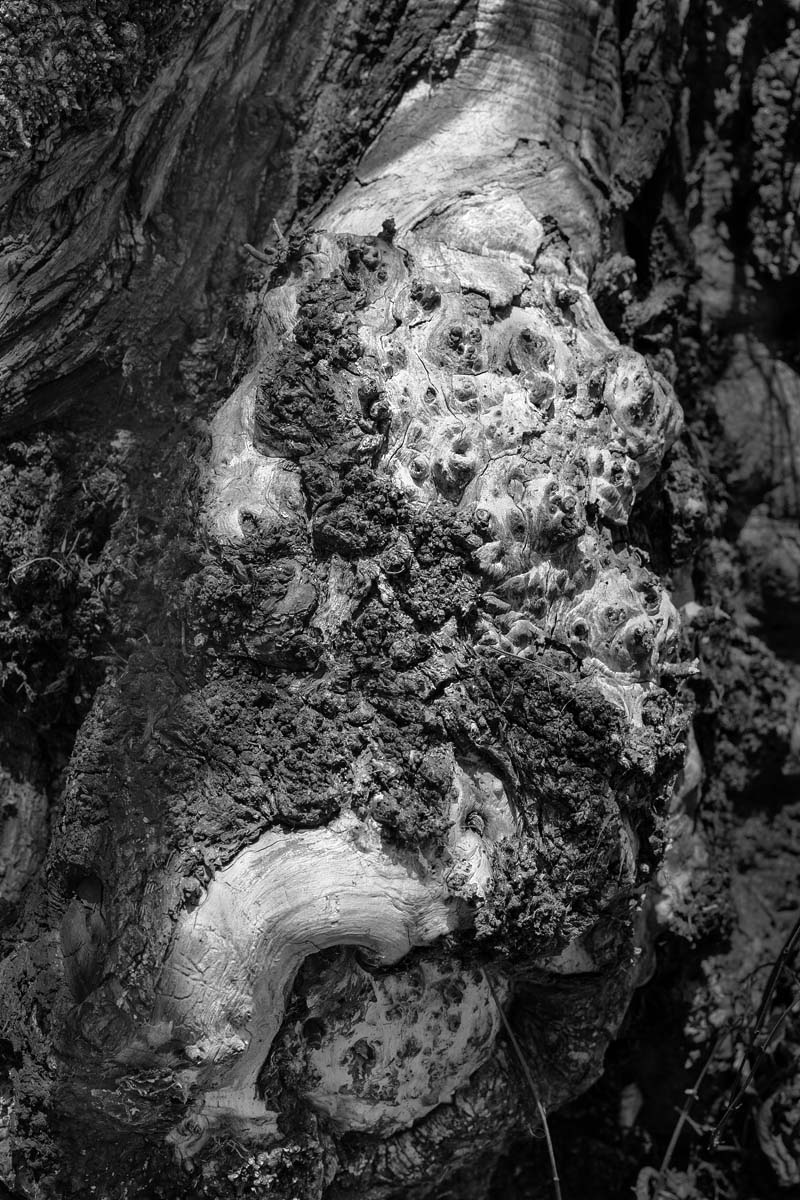
Bear in mind that all these images are heavily compressed JPGs at around 300Kb – the original images have more sparkle and bite.
Conclusions
Having spent just over a week working with these new ACR profiles my impressions are that the ACR B&W profile 01 and 10 produce conversion that are very similar to the images I can produce using the DxO plugin as my starting point. In this test, depending on the contrast in the native image, I used the number 01, 05, 06, and 10 profiles then modified the amount combined with the usual adjustments and graduated filters.
Summarising, I was able to create almost the same quality of rendering I normally produce using these new monochrome profiles together with the additional adjustments available in ACR. The net benefit is a shorter, less complicated workflow, without compromising on the end result.
I was also very impressed with the performance of my recently acquired Leica R lens set.They really do work very, very well when coupled with the Leica SL body.
Information on the new Adobe Lightroom profiles can be found here and here.
This post was originally published here.
If you have an interesting idea for a guest post, you can contact me here.